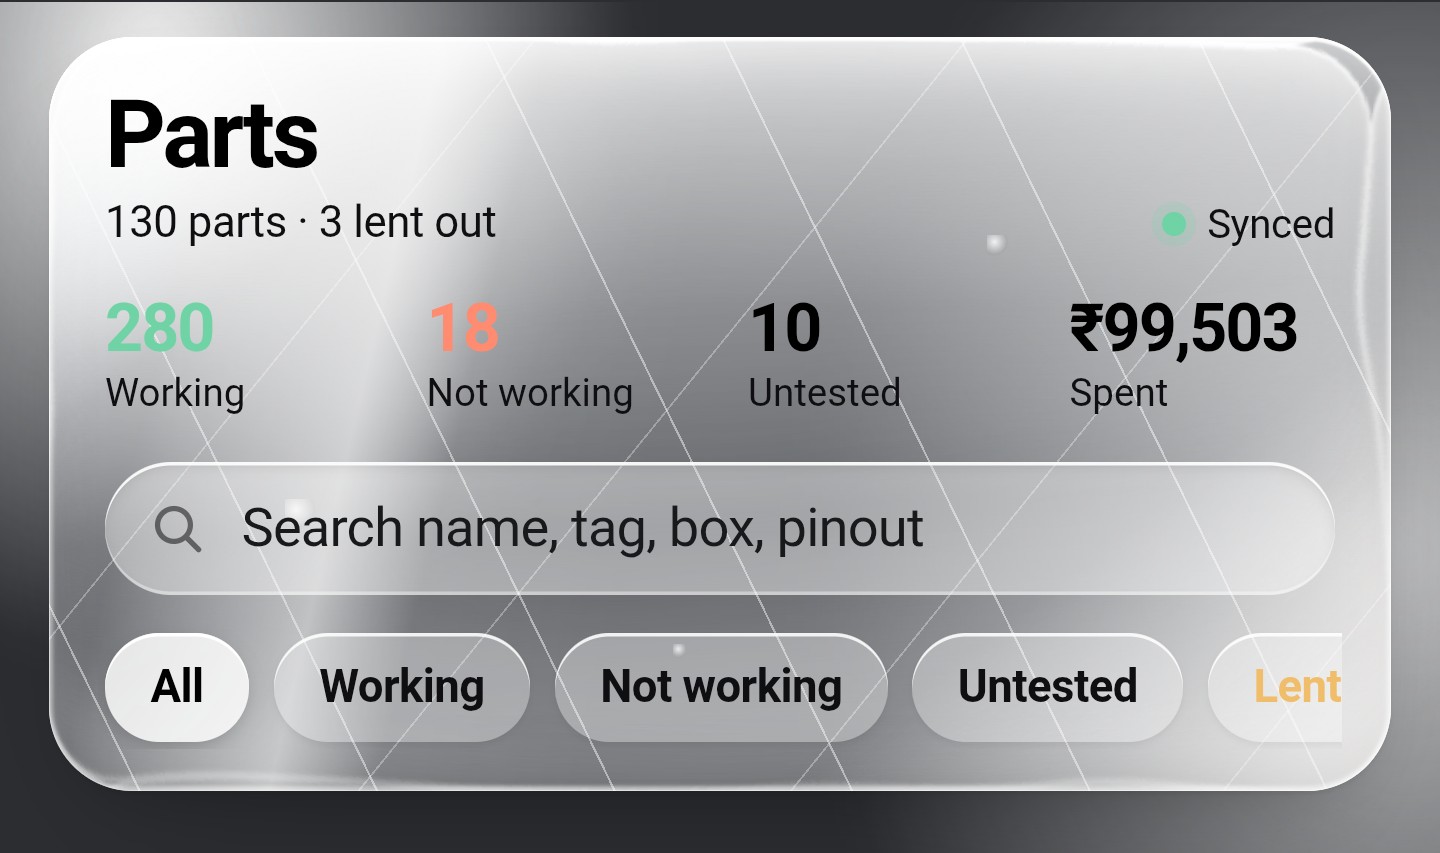
CircuitShelf: The Web App That Keeps My Electronics Inventory in Check
If you’ve read about my ESP32-based hardware inventory manager, you’ll know that I have a slightly ridiculous number of electronic modules lying around.
Around 230, to be more specific.
Sensors, development boards, displays, actuators, communication modules, and all the other little things that somehow become essential the moment you can’t find them.
My hardware project helps me locate these components when I’m sitting at my electronics bench. But what happens when I’m not home? What if I’m at school, travelling, or just lying around and suddenly get an idea for a project?
I don’t exactly carry my ESP32 inventory manager in my pocket everywhere.
So I built CircuitShelf, the software side of the same idea.
CircuitShelf is a web-based electronics inventory manager that lets me keep track of my components, their storage locations, their condition, whether they’re available, and how much I’ve spent on them.
It’s essentially the companion to my hardware project, except this one runs in a browser.
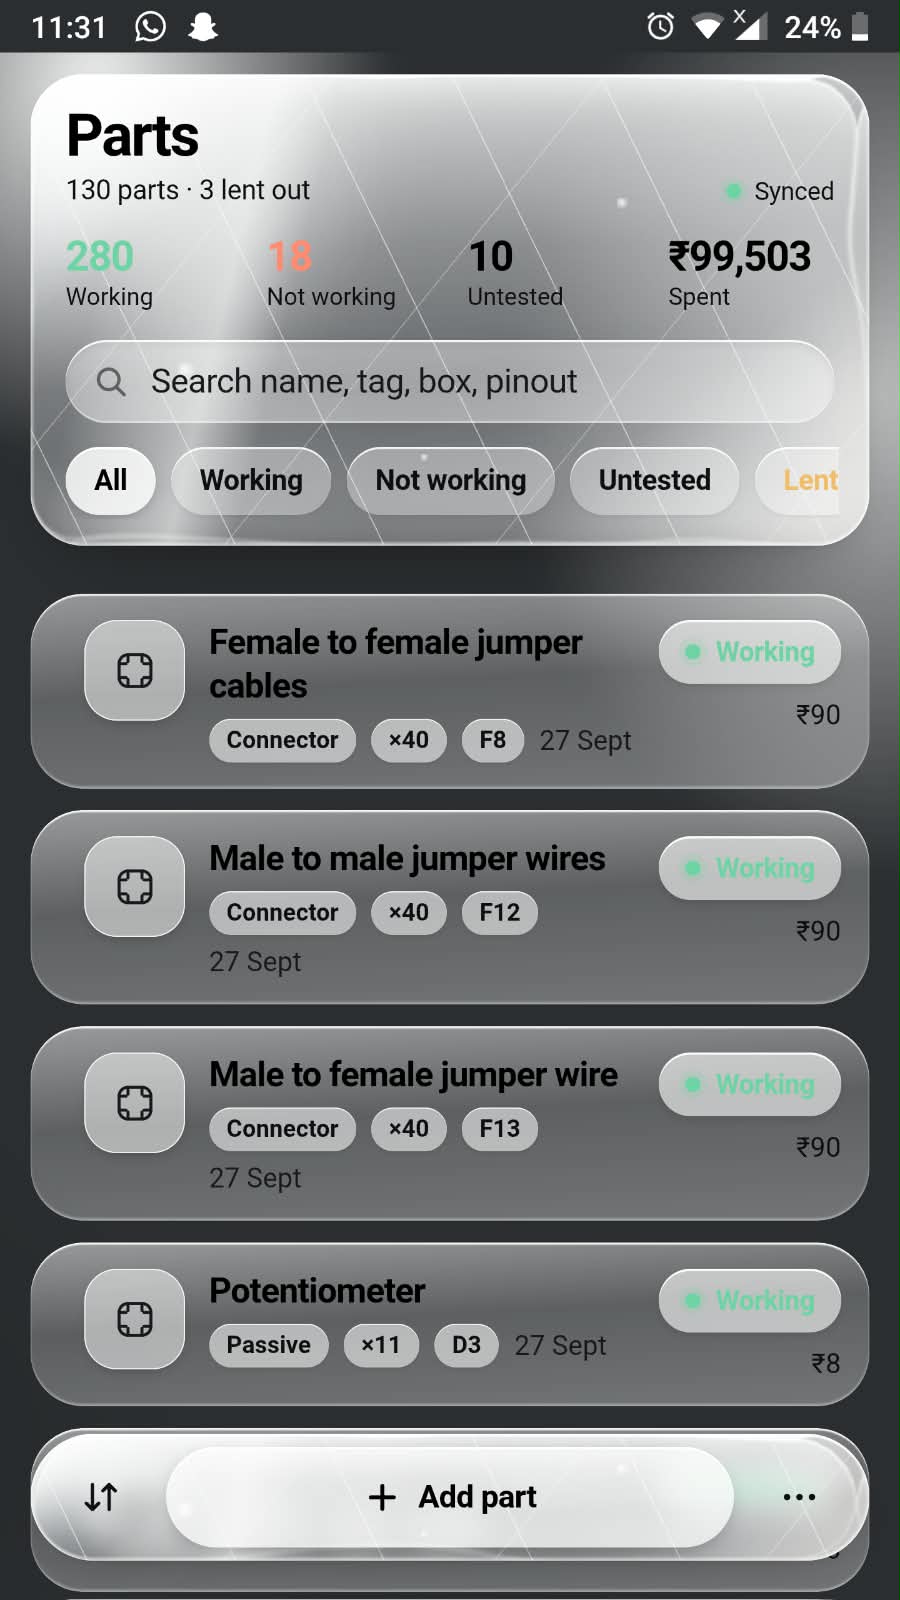
CircuitShelf — because remembering where I put every tiny electronic module is apparently too much to ask of my brain.
Why did I build a separate web app?
Let’s say I’m away from home and suddenly get an idea for a project involving an ESP32-CAM, an OLED display, and a few sensors.
Before buying anything, I’d like to know three things:
- Do I already own these modules?
- Where have I stored them?
- Are they working, untested, or currently unavailable?
Without an inventory, I’d probably end up buying something I already own. Or I’d spend half an hour searching through pouches, boxes, and drawers.
Neither option is particularly brilliant.
My hardware inventory manager solves this problem at my electronics bench. CircuitShelf extends that idea to a web interface, so I can check my inventory even when I’m away from the physical device.
The website also makes it easier to manage the inventory, add new parts, track expenses, and export my data.
The two systems have different interfaces, but they serve the same basic purpose: helping me keep track of my electronics without relying on my memory.
Meet the website
You can open the current version here:
The website opens with two main options:
- Parts — browse and manage the components already in your inventory.
- Add Part and Load Starter Kits — add individual components or populate your inventory using starter-kit data.
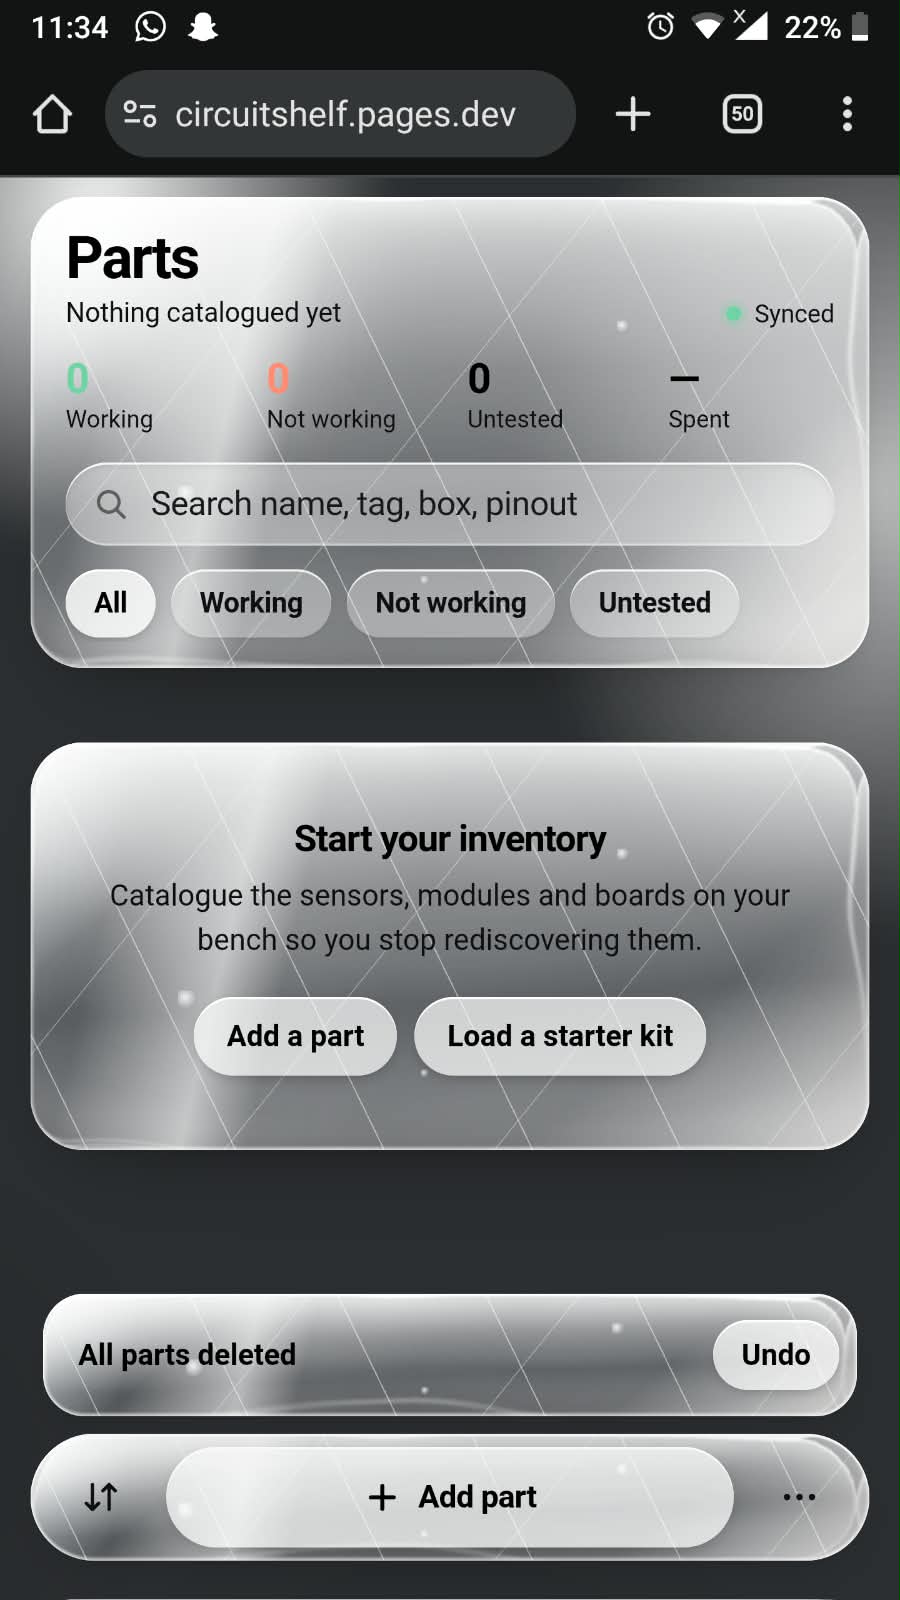
CircuitShelf’s home screen with the Parts and Add Part options.
The idea is to make the common actions easy to find. You shouldn’t have to navigate through twelve different menus just to add a sensor or check whether a module is available.
Let’s go through the features one by one.
1. Local storage and syncing across devices
This is probably the most important thing to understand before using CircuitShelf.
When you first open the website, it operates locally. In other words, you can use the local inventory without immediately connecting it to my Firebase Firestore setup.
However, a local inventory and a remotely synchronized inventory aren’t the same thing.
If you want to access the same vault from multiple devices, you’ll need to configure the syncing feature.
How to connect to the shared sync system
- Open CircuitShelf.
- Find the three-dot menu in the bottom-right corner.
- Look under Sync Across Devices.
- Select Sync Password.
- Follow the setup instructions to configure your password.
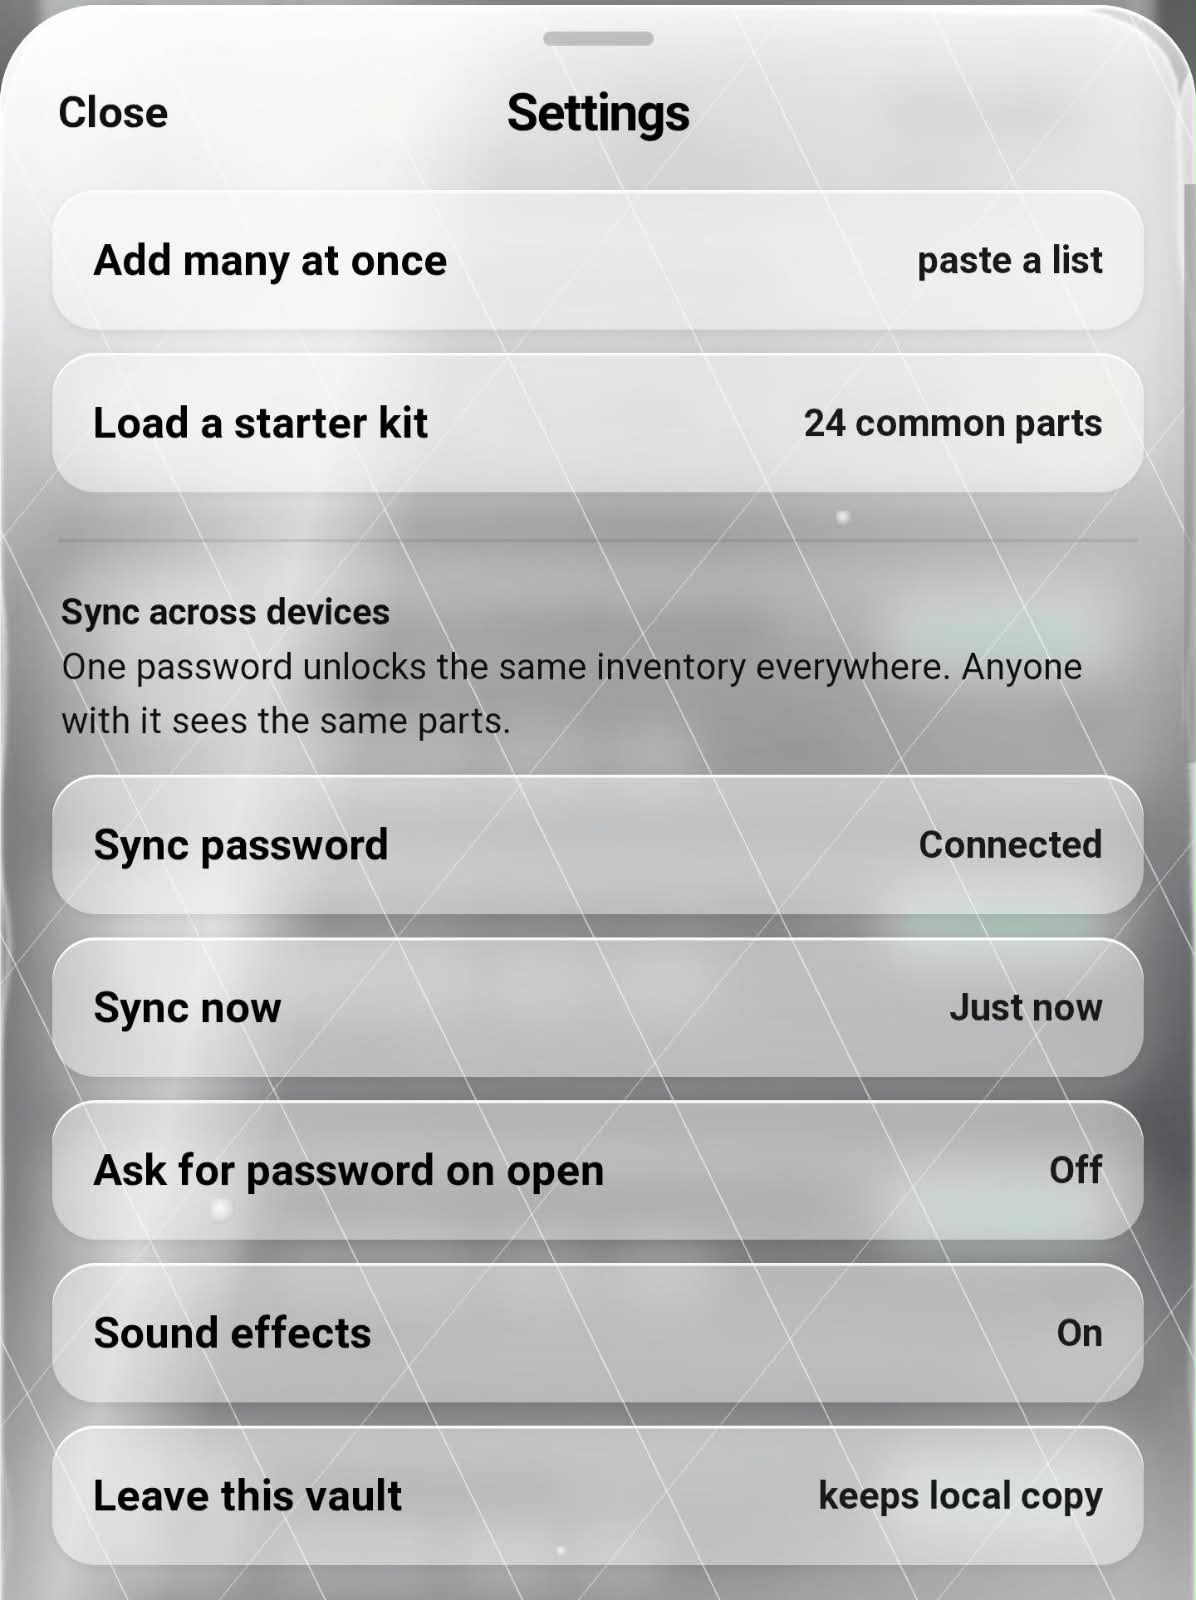
The sync settings panel, with the Sync Password option.
Once the sync setup is complete, you can use the configured credentials on another device to access the corresponding synchronized inventory.
For example, imagine I configure the sync password on my phone. Later, I open CircuitShelf on my laptop and enter the same password through the sync setup.
The idea is that both devices can access the same synchronized vault rather than maintaining two completely separate inventories.
This is particularly useful when I add a component on one device and want to manage or look it up from another.
A quick security note: the password mechanism is a convenience feature, not proof that a system is secure. A password-based sync system needs proper authentication, access controls, and secure handling of Firebase credentials. Don’t assume that a password alone protects the underlying Firestore database from unauthorized access. This is especially important because the current security setup is still something I need to improve.
Also, avoid putting your actual sync password or private configuration details in screenshots.
2. Adding your own components
You don’t have to use my inventory to try out the website.
You can create your own collection of components and use CircuitShelf to track what you own.
Open the Add Part section and enter the requested details for the component you’re adding.
Depending on the available fields, this can include information such as:
- Component name
- Category
- Quantity
- Storage location
- Condition or working status
- Cost
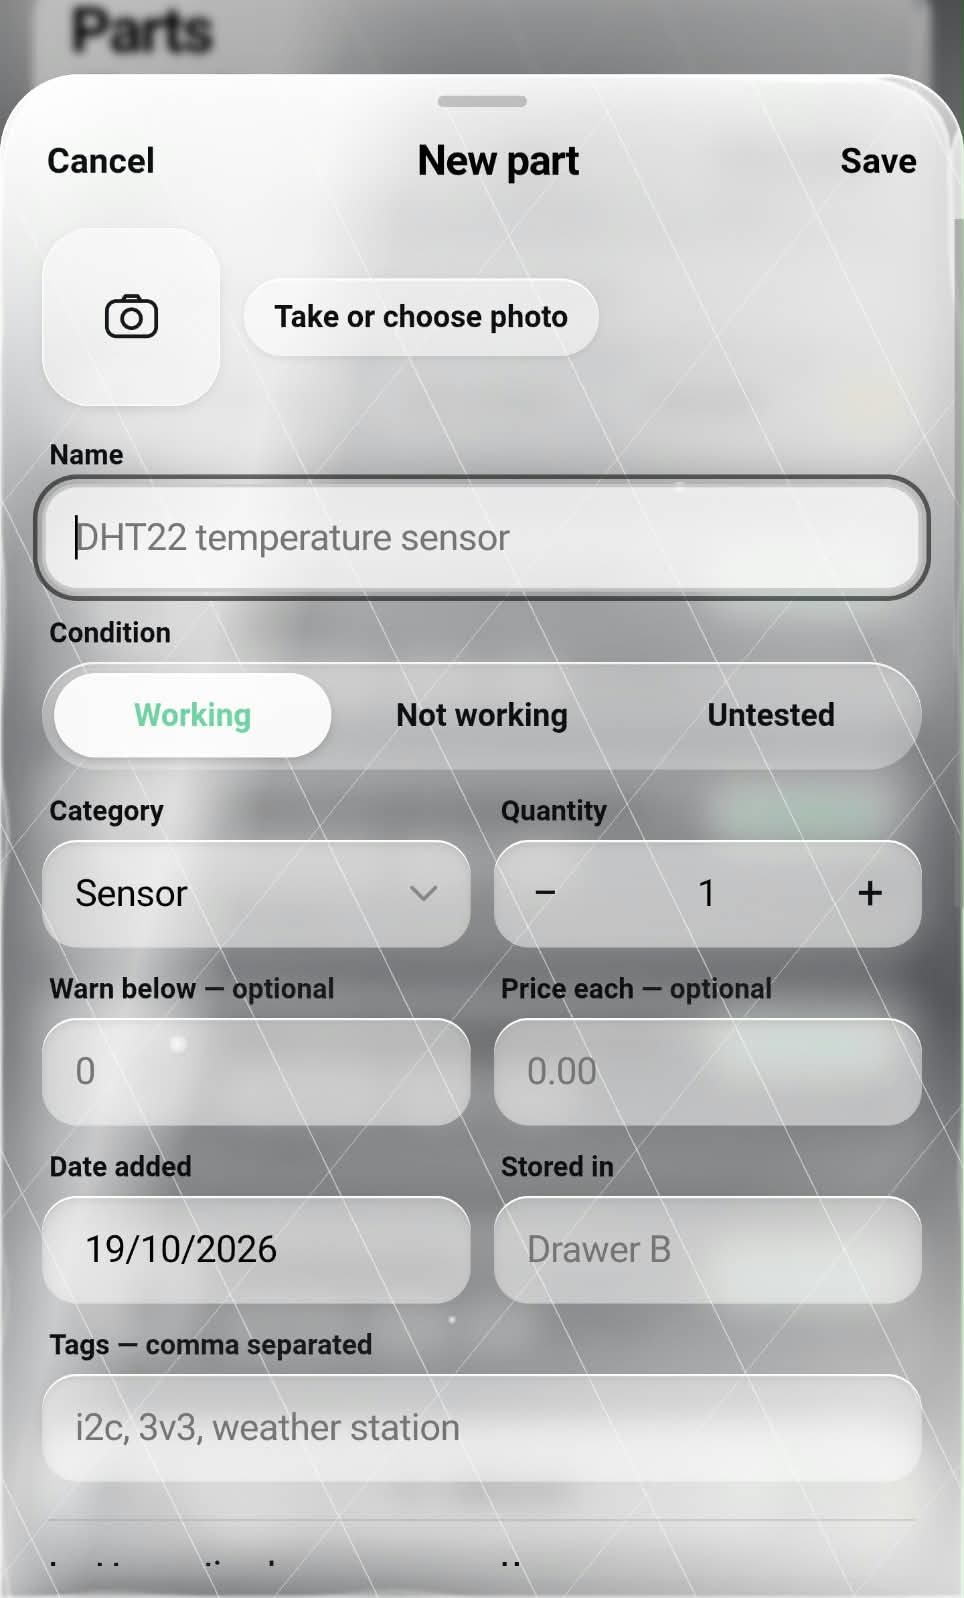
The Add Part form for recording a new component.
Let’s say you’ve bought an HC-SR04 ultrasonic sensor.
Instead of leaving it in a random pouch and hoping you’ll remember where it went, you can add it to CircuitShelf and record its location.
Later, when you need it for a project, you can search for it instead of performing an archaeological excavation of your electronics collection.
Tracking the money you spend
CircuitShelf can also keep track of the costs associated with your components.
This is useful because individual modules often seem inexpensive until you add up everything you’ve purchased.
A sensor here, a development board there, another display because the previous display was apparently too small…
And suddenly your electronics hobby has developed a budget of its own.
Keeping component costs recorded gives you a better idea of how much you’ve invested in your inventory.
3. Tracking whether a component actually works
Owning a component and owning a working component are two very different things.
I might have five sensor modules in a box, but that doesn’t automatically mean all five work.
Some might be tested and ready to use. Others might be damaged, and a few might never have been tested in the first place.
CircuitShelf lets me distinguish between three useful states:
| Status | Meaning |
|---|---|
| Working | The component has been tested and works. |
| Not working | The component has been tested and doesn’t work as expected. |
| Untested | I haven’t verified whether it works yet. |

Component status and availability indicators in the inventory.
This distinction matters when planning a project.
There’s no point assuming that an untested module is ready for use and discovering that it doesn’t work when you’re halfway through building a circuit.
It also helps identify which components need testing or replacement.
4. Lending and receiving components
Electronics enthusiasts tend to lend each other components.
A friend needs a sensor for a project, someone borrows a development board, or a module temporarily disappears into somebody else’s toolbox.
And then comes the classic question:
“Wait, who has my ESP32?”
CircuitShelf supports lending and receiving items, so I can keep track of which components are available and which have been lent out.
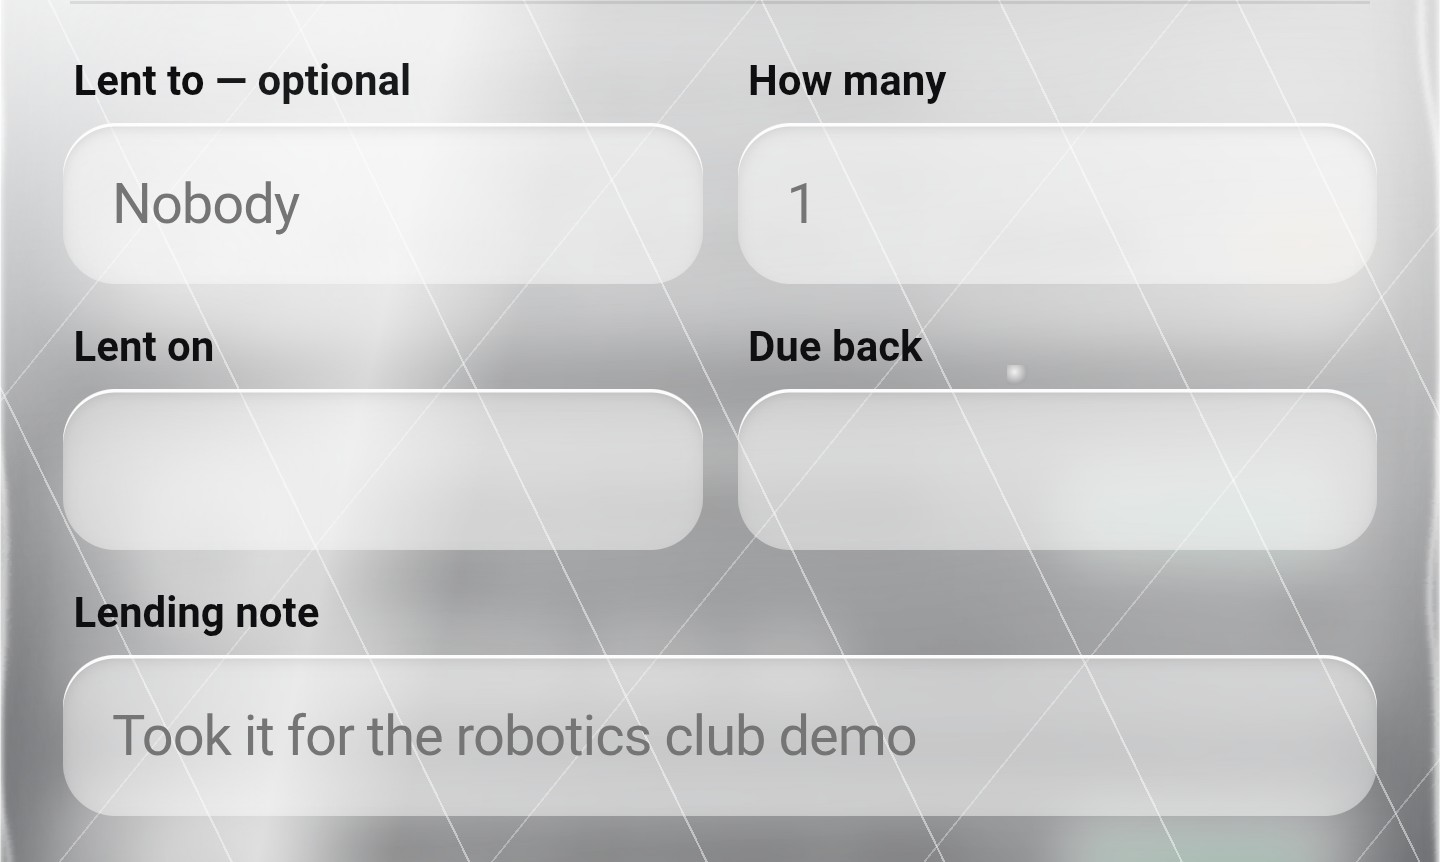
The lending and receiving controls for tracking borrowed components.
This makes the inventory more useful than a simple list of component names.
Instead of merely knowing that I own a module, I can also keep track of whether it’s currently available for my next project.
If you’re building your own inventory, this is worth doing even if you only have a small collection. It’s much easier to record a loan when it happens than to reconstruct it three weeks later.
5. Settings: where the useful extras live
CircuitShelf has a Settings section with several features that are worth exploring.
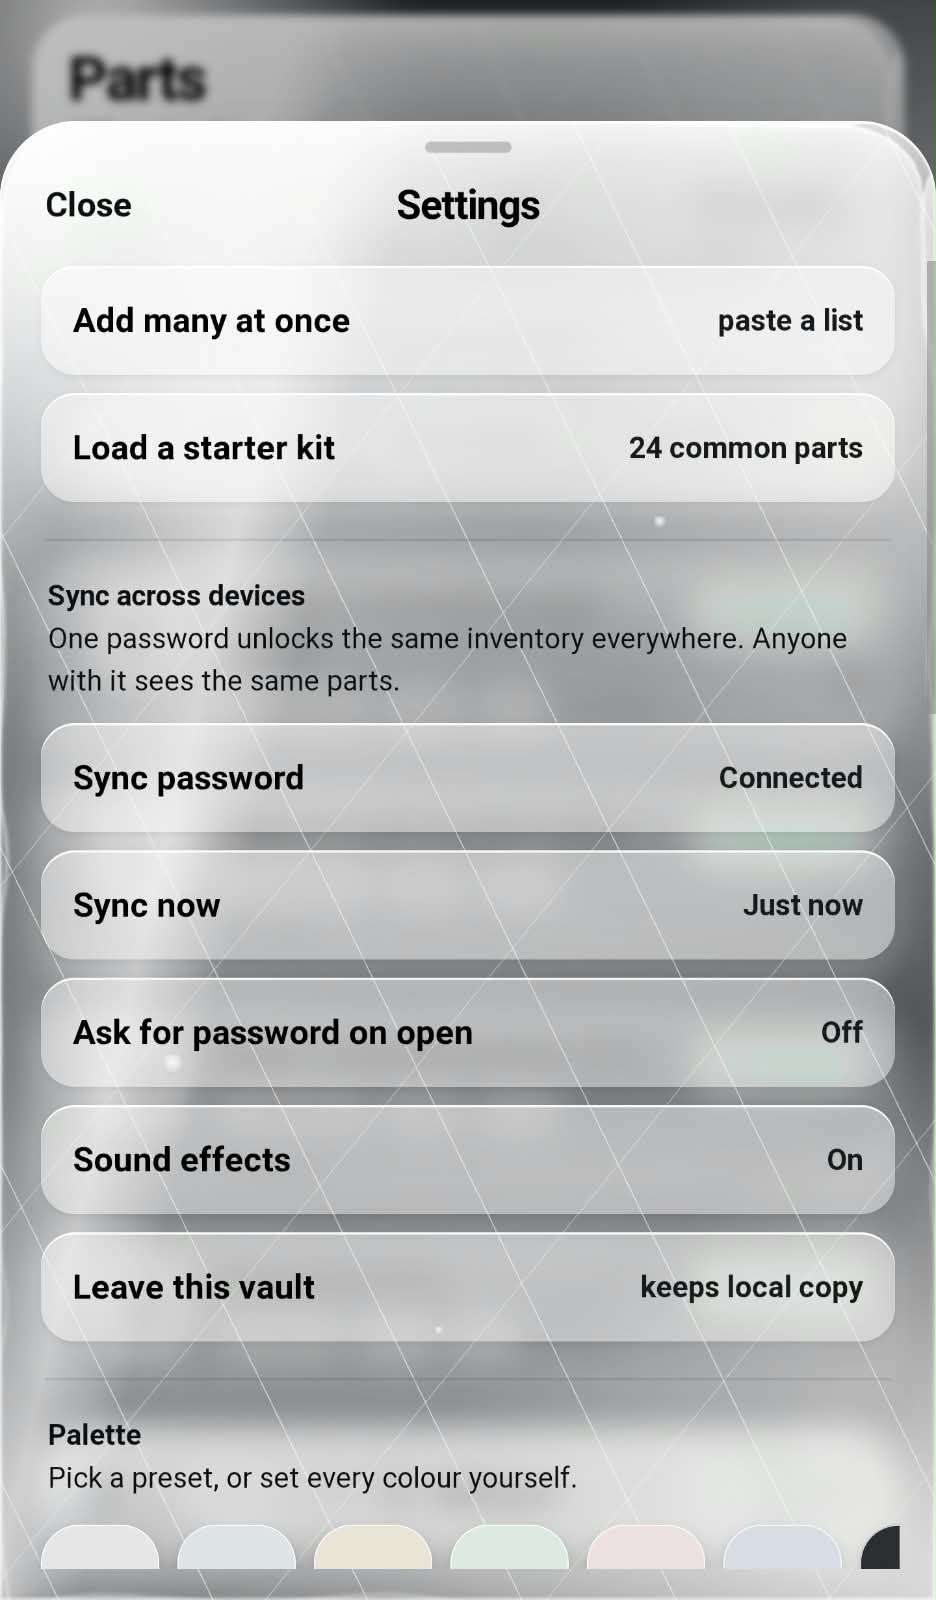
CircuitShelf’s Settings screen.
Add multiple components
Adding parts individually is fine when you only have a few.
But what if you’ve just bought a starter kit containing dozens of components?
Entering every item manually would get old very quickly.
CircuitShelf includes functionality for adding multiple components, making it easier to populate a larger inventory.
Load Starter Kits
The starter-kit feature provides another way to populate the inventory.
Instead of starting with an empty vault and manually entering every component, you can load a starter kit and build on that inventory.
This is especially useful when setting up a new collection.
Just remember to check the imported items and quantities against what you actually own. A starter kit is a starting point, not a magical guarantee that every component in the list is sitting on your desk.
Install it as a PWA
This is one of my favourite features.
CircuitShelf can be installed as a Progressive Web App (PWA), provided your browser and the website’s installation configuration support it.
A PWA lets a website behave more like an installed application. Instead of opening a browser tab every time, you can launch it from your device’s home screen or app launcher.
CircuitShelf running as an installed PWA.
This is particularly convenient on mobile.
I can open my inventory without having to search through browser tabs, and the app gets its own launch icon.
One important distinction: installing a website as a PWA doesn’t automatically make its data synchronize across devices. That’s a separate feature handled by the application’s storage and sync system.
6. Ask for Password on Open
CircuitShelf also includes an Ask for Password on Open setting.
When enabled, this is intended to require a password before opening the vault.
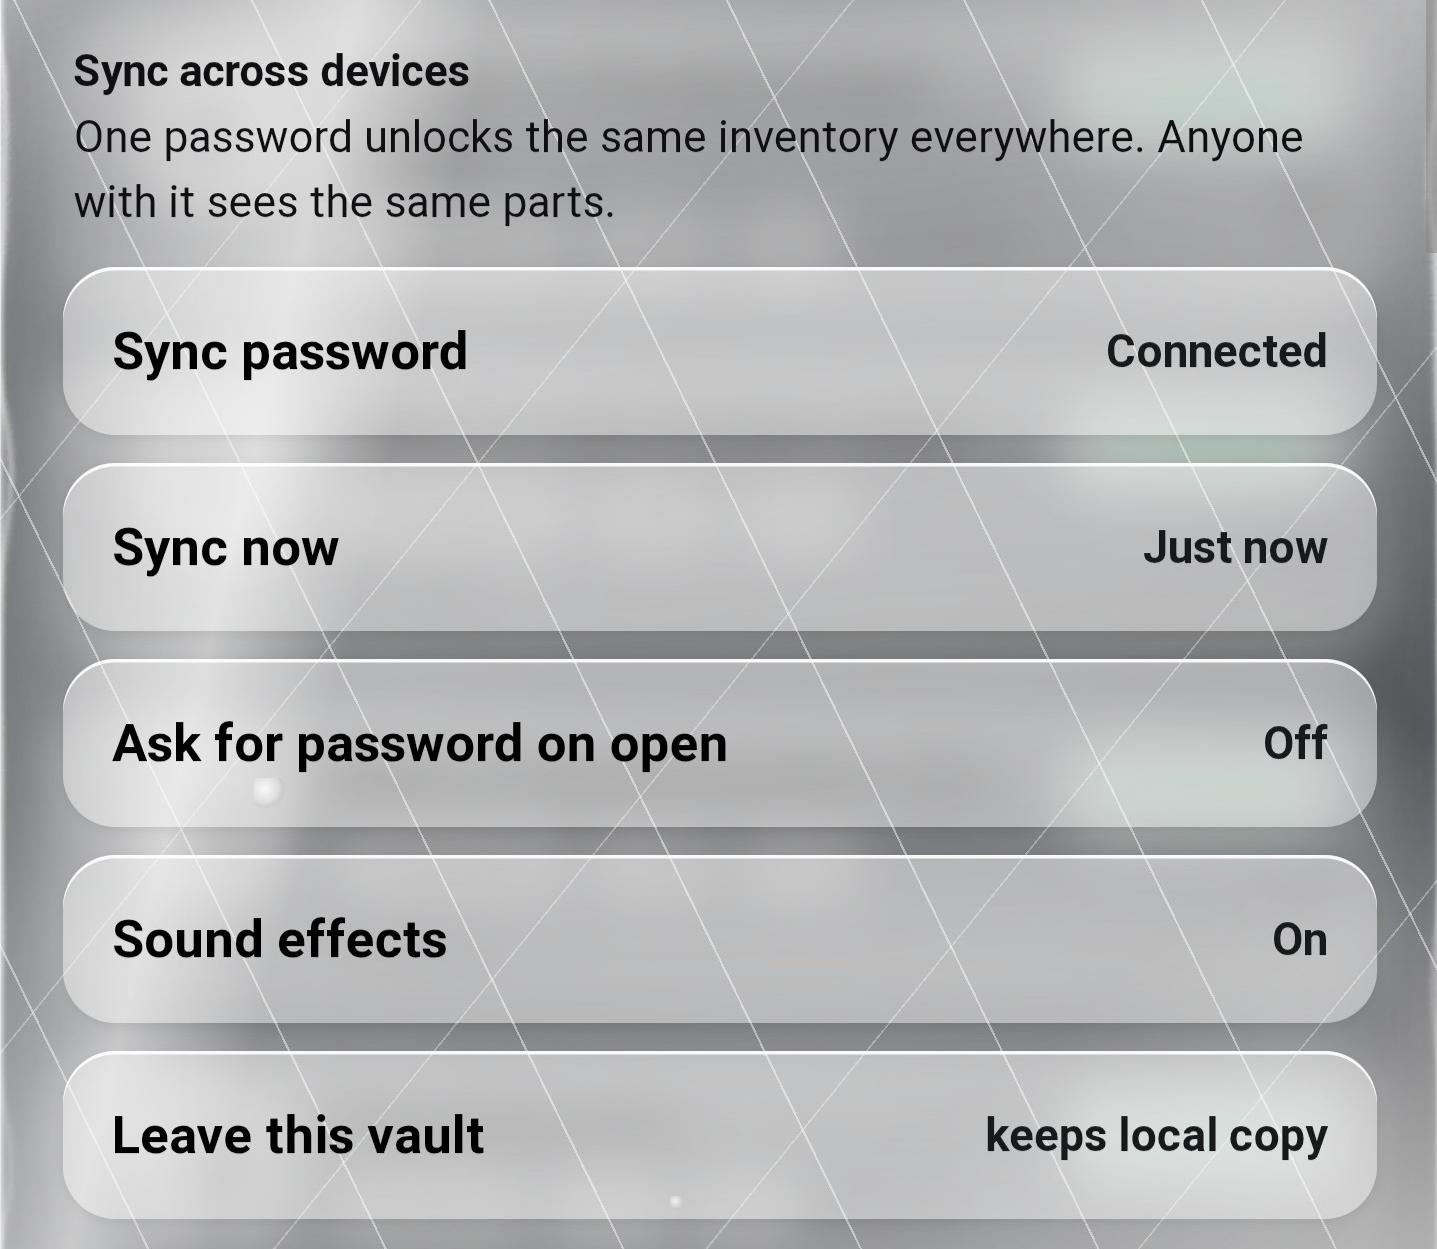
The Ask for Password on Open setting.
This is useful if you share your computer or phone with other people and don’t want your inventory immediately accessible whenever they open the website.
However, a password prompt in the user interface should not be confused with strong database security. Proper protection also depends on how the application stores credentials and whether its data access is enforced securely by the backend.
It’s a useful interface-level privacy feature, but it shouldn’t be treated as a substitute for securing the Firebase backend.
7. Customizing the appearance
Not everybody wants the same interface, and I wanted CircuitShelf to have some customization options.
The settings include different colour palettes that let you change the appearance of the application.
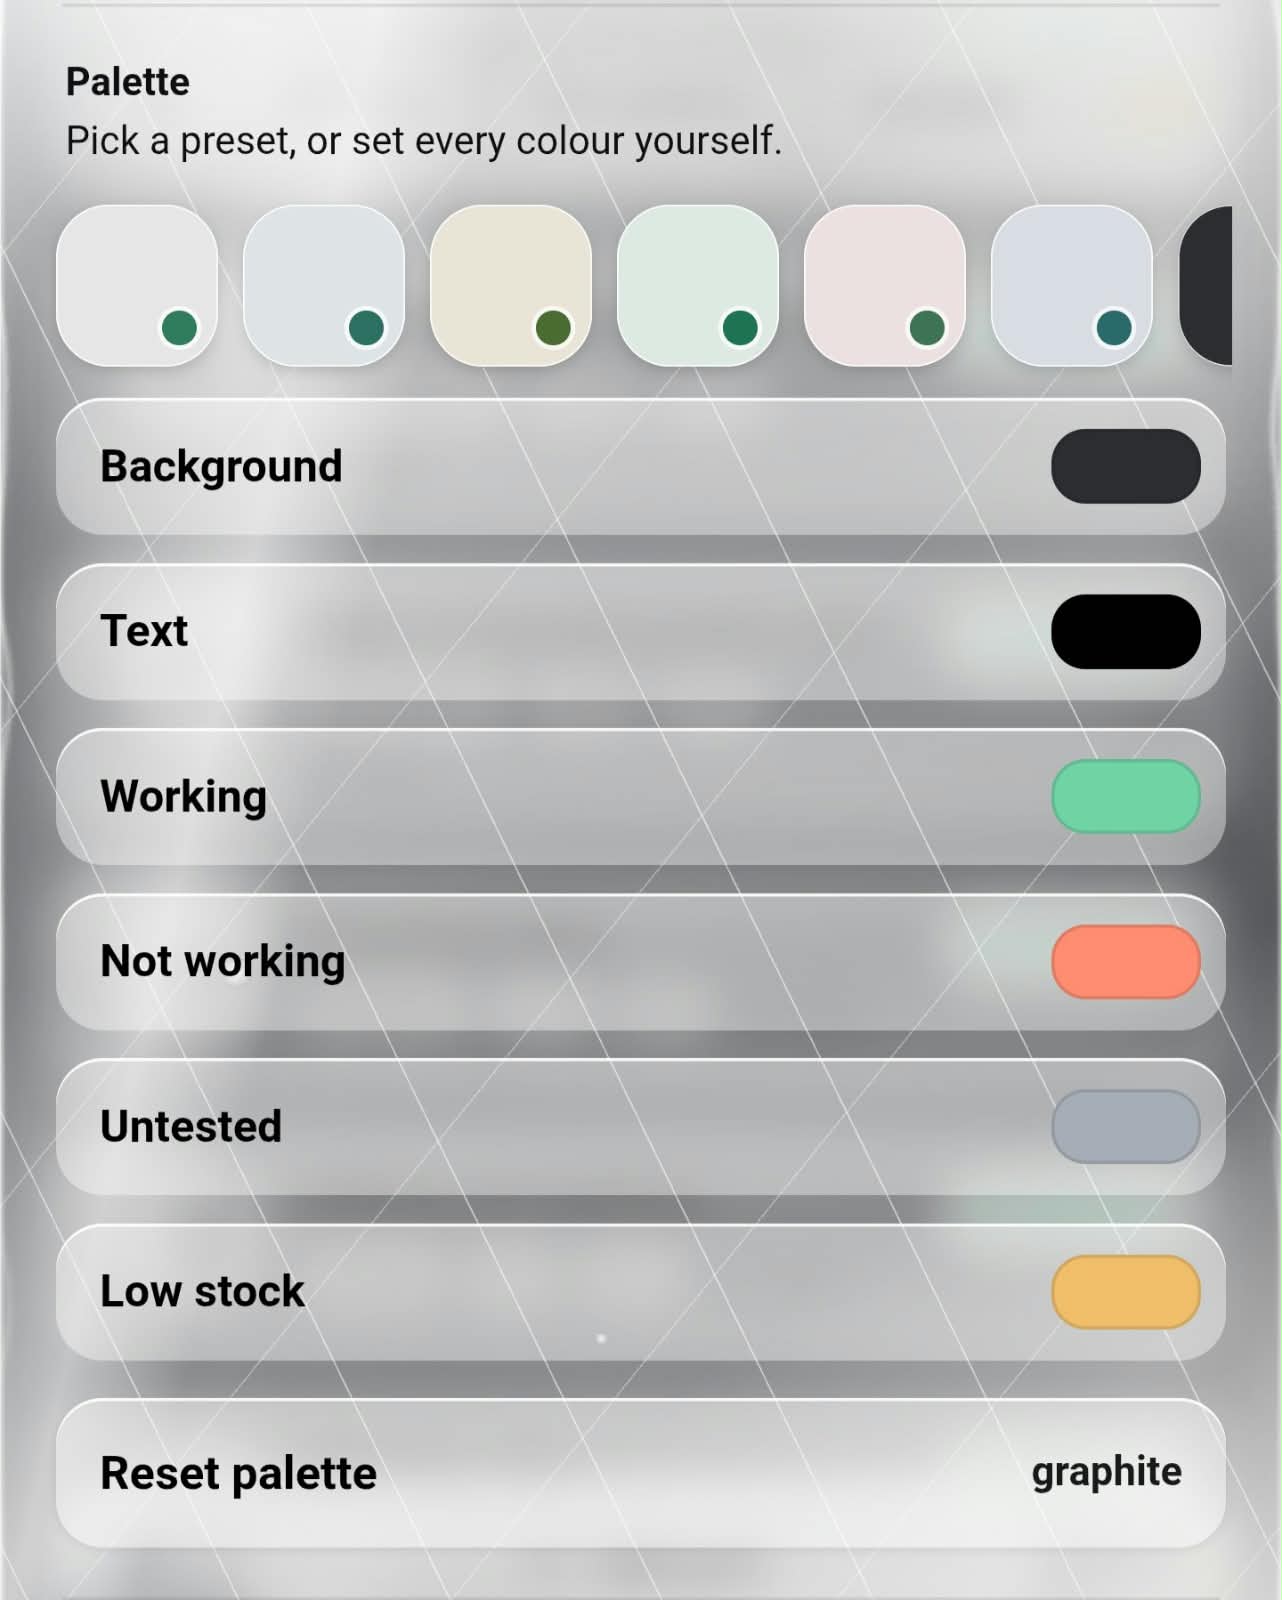
Available colour palettes in the appearance settings.
One of my favourites is the black palette on the right.
It has the look I wanted for an electronics tool: understated, dark, and not trying to blind me with unnecessary visual effects.
There’s a small catch, though.
Depending on the selected palette and text-colour configuration, the contrast may not be ideal. I found that changing the text colour to black improved visibility for the particular combination I was using.
The important thing is to choose a combination that remains readable. A good-looking interface isn’t particularly useful if you can’t read the component names.
8. Categories: keeping the inventory organized
Imagine putting every electronic component you own into one enormous list with no organization.
Finding anything would become a pain.
That’s where categories come in.
CircuitShelf includes categories such as:
- Sensor modules
- Development boards
- Actuators
- Other electronic components
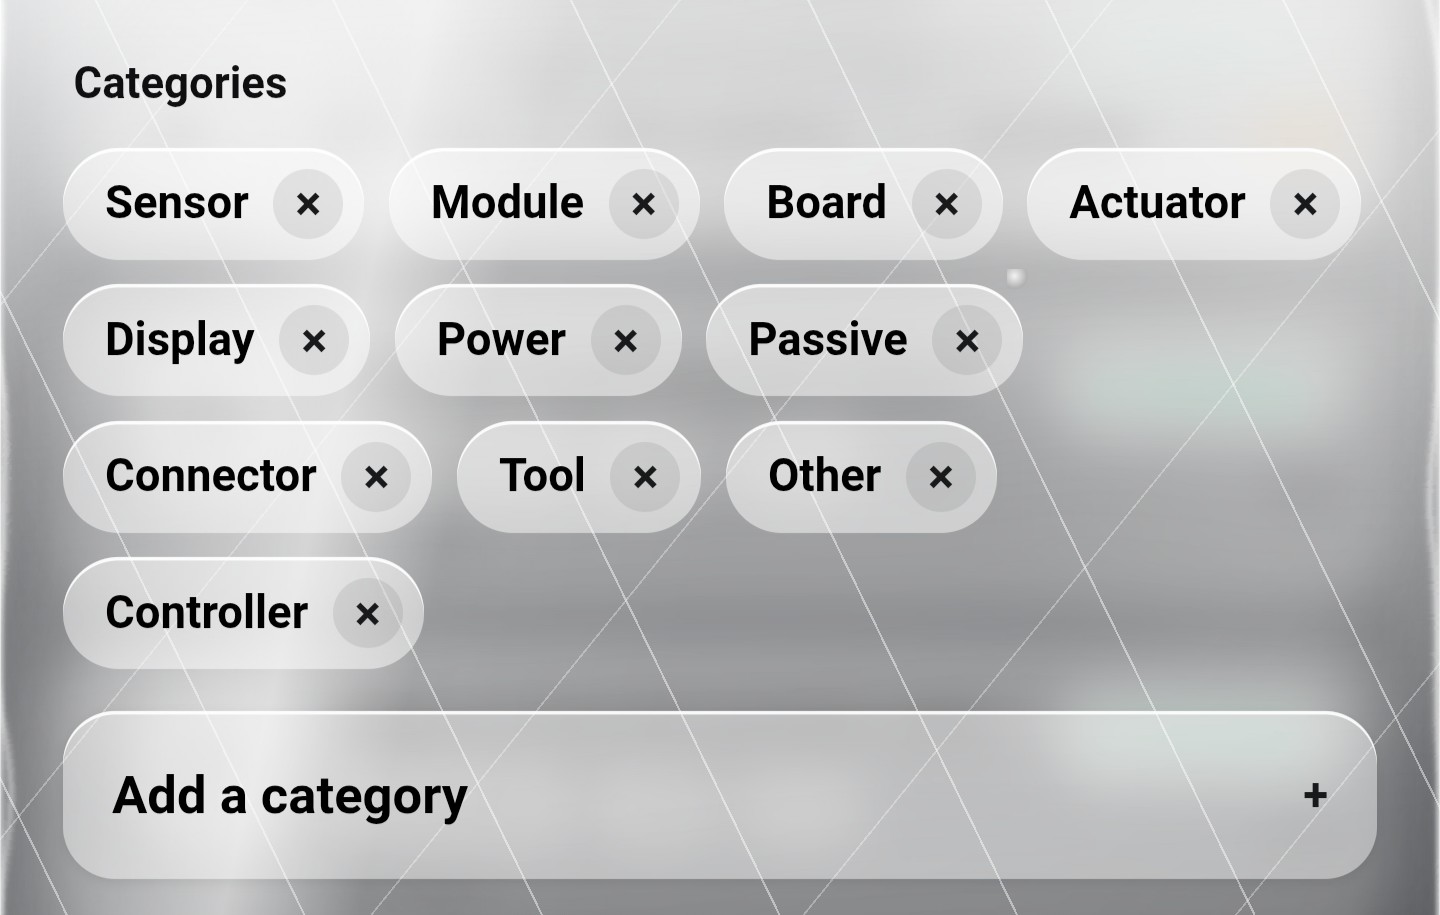
The Categories section for organizing components.
You can also add categories to suit your own collection.
For example, you might want separate categories for:
- Displays
- Communication modules
- Power supplies
- Motor drivers
- Connectors and cables
The categories you choose depend on what you own and how you prefer to organize it.
Personally, I find this much more practical than trying to remember the location of every component individually.
9. Currency settings
Because I live in India, the default currency is INR — Indian rupees.
But not everyone using CircuitShelf will be working with rupees.
The application currently provides several currency options, allowing users to choose the currency that suits them.
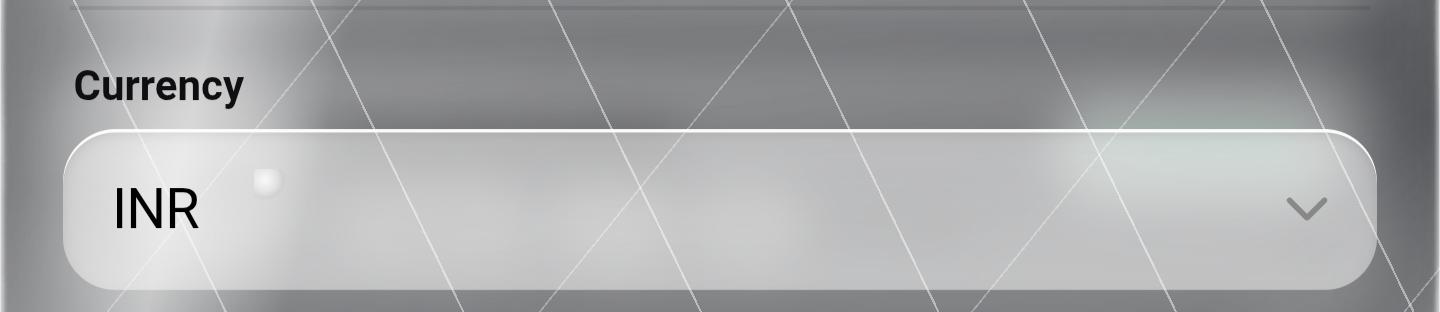
The currency selector in CircuitShelf.
This is useful when tracking component expenses because the displayed costs can match the currency you use when purchasing parts.
If you’re buying modules from different stores or keeping track of a large collection, being able to view costs in your preferred currency makes the inventory more practical.
The current selection of currencies is limited to the options implemented in the application, rather than every currency in the world.
10. Exporting and importing your data
This section is important, especially if you’re going to spend time building a large inventory.
You don’t want to spend hours entering component details only to lose everything because you changed devices or reset your browser.
CircuitShelf includes backup and export options.
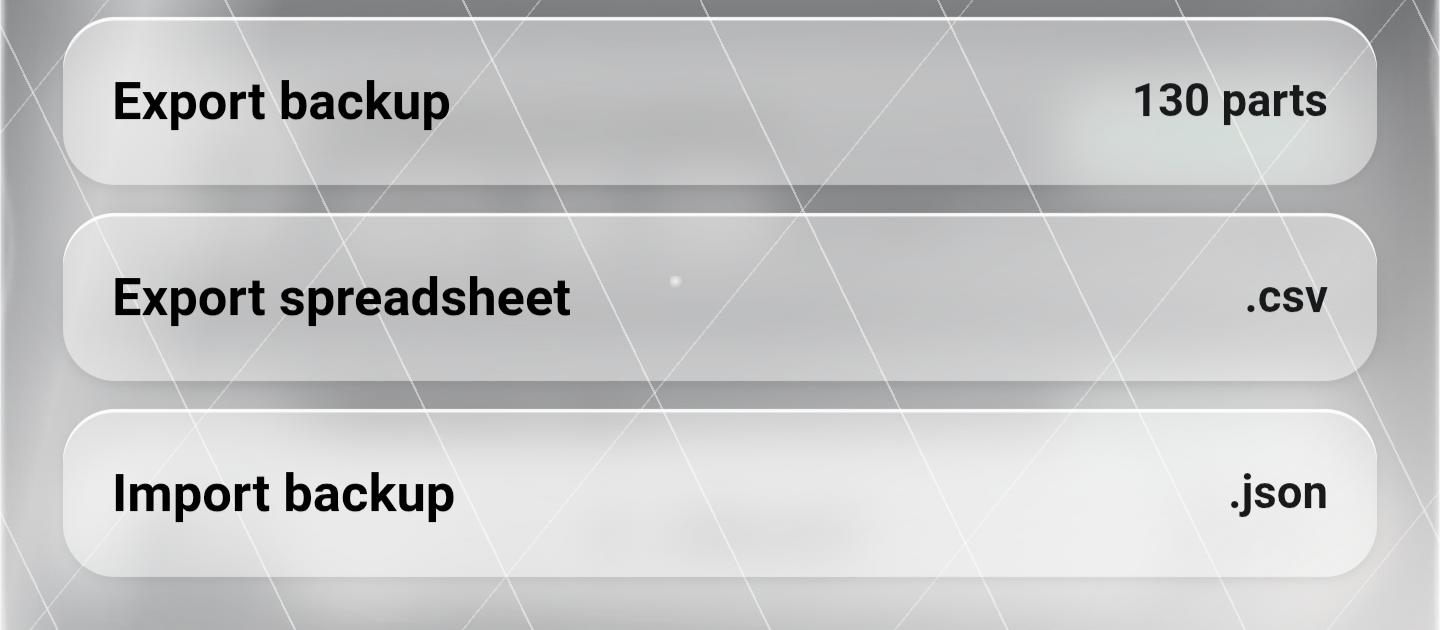
Backup, spreadsheet export, and import controls.
Export Backup
This option lets you export a backup of your inventory.
A backup is useful when you want a copy of your data that you can preserve separately from the application.
Keep it somewhere sensible. A backup stored only on the same device as the original data isn’t much help if that device fails.
Export Spreadsheet
This option exports inventory data in a spreadsheet-friendly format.
This is useful if you want to inspect your components outside the website, organize information in a spreadsheet, or perform your own calculations.
For example, you could use the exported data to review how many components you own in each category or examine your recorded spending.
Import Backup
If you have a compatible backup, you can use the import option to restore or bring that data into CircuitShelf.
Before importing, make sure you understand how the application handles existing data. Depending on the implementation, an import may replace, merge, or otherwise modify the current inventory.
Always keep a separate copy of important data before performing an import.
11. Delete All Vaults — the option to treat with respect
At the bottom of the settings area, you’ll find Delete All Vaults.
This option is intended to reset the vault data.
This is useful if you want to start over, remove test data, or reset your inventory.
But please don’t click it casually just because you want to see what happens.
If the action deletes your inventory, you could lose the component locations, condition information, costs, and other records you’ve entered.
Export a backup first, and carefully read any confirmation prompt before proceeding.
I included this feature because sometimes you really do need a clean slate. Just make sure you’re resetting the correct data.
12. How I would use CircuitShelf in practice
Let’s say I’ve decided to build a project that requires an ESP32, an OLED display, and a temperature sensor.
Here’s how I’d use the website:
- Open CircuitShelf.
- Browse or search the inventory for the required modules.
- Check their recorded locations.
- Check whether each module is marked as working, not working, or untested.
- Check whether the components are currently available.
- If a module is missing from the inventory, add it.
- Update lending or receiving information when components move between people.
- Keep the inventory backed up as it grows.
This is where the web app becomes useful beyond simply storing a list of names.
It gives me a way to make decisions before I start building.
Instead of buying another OLED because I can’t remember whether I own one, I can check first.
Instead of opening every pouch in my collection, I can look up the recorded location.
And instead of discovering that the only sensor I have is untested halfway through a project, I can check its status in advance.
13. A few things to know before using it
CircuitShelf is a project I’m actively developing, so there are a few distinctions worth keeping in mind.
Local data versus synchronized data: local storage and Firebase-backed synchronization are different modes. Follow the website’s sync setup instructions if you want to access the same vault on multiple devices.
Backups matter: export your data regularly if your inventory becomes important to you.
Check the component records: a location or working status is only as accurate as the information entered into the inventory.
Security is still a work in progress: don’t treat the sync password or the vault-opening prompt as proof that the Firebase database is fully secured. Avoid putting sensitive information into a test inventory.
The interface may change: this is a live project, and features or menu layouts may evolve as I continue developing it.
What’s next for CircuitShelf?
CircuitShelf is the software companion to my physical ESP32 inventory manager, but it doesn’t have to stop at simply listing electronic components.
I want the inventory experience to become easier to use as the collection grows, with practical search, useful organization, and a reliable way to manage component availability.
The hardware and software sides solve slightly different problems:
- Hardware: a dedicated device I can use at my electronics bench.
- Software: a browser-based interface I can access when I’m away from that device.
Together, they give me a more flexible way to manage my electronics collection.
And honestly, the biggest benefit isn’t that the system looks fancy.
It’s that I spend less time looking for components and more time actually using them.
Which is kind of the entire point.
Try CircuitShelf yourself
You don’t need to own 230 modules to give it a try.
Start with a few components you already have. Record their names, locations, condition, and cost, and see whether keeping an inventory makes your next project easier.
If you want to explore the application, use the link below.
If you’d like to view my own component inventory, contact me at ajmelsworkshop@gmail.com. I can share the details needed to view it where appropriate.
This is a project I’m building to solve a problem I actually have, and I’ll continue improving it as my electronics collection — and my tendency to start new projects — grows.


